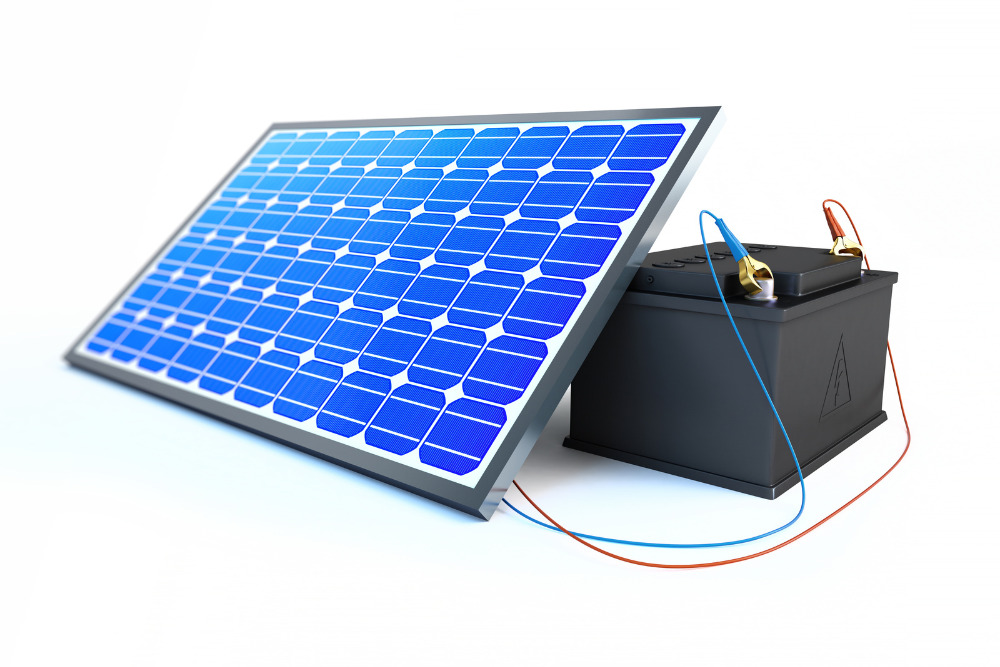
The solar panel installation process involves several steps, including site assessment, design, permitting, and installation. It can take 2-6 months or longer.
Understanding the solar panel installation process is essential for homeowners or businesses considering adopting solar energy. This article provides a concise overview of the typical steps involved in the solar panel installation process, offering valuable insights for those interested in transitioning to renewable energy and lower electricity bills.
How Are Solar Panels Attached To Your House?
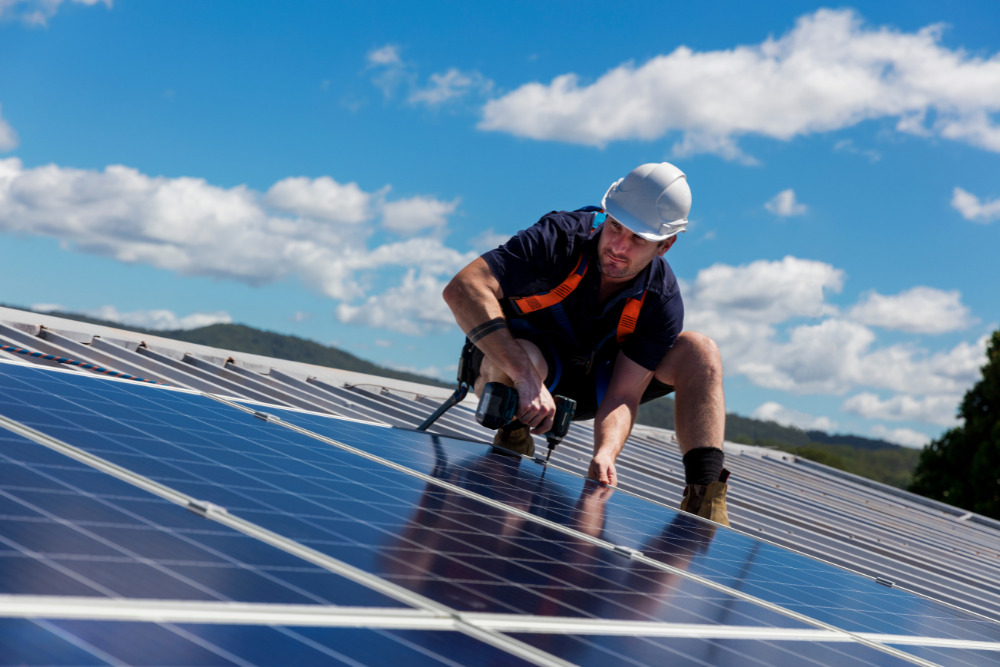
A solar panel system (or photovoltaic [PV] panel system) is typically attached to a house using a mounting system that securely fastens them to the roof. The mounting system comprises metal brackets or rails affixed to the roof structure.
These brackets serve as a foundation for attaching the solar panels. The panels are then carefully positioned and secured to the mounting system using specialized clamps or brackets.
How Long Does It Take To Install Solar Panels?
The entire process of installing a solar power system takes 2-6 months. Large commercial projects or home solar projects that encounter hiccups (i.e. HOA approval hold up) may take even longer.
Factors such as roof accessibility and condition, electrical system upgrades, and permit acquisition can also influence the installation timeline.
On installation day, expect things to move much faster. While a solar energy system will be unique to every home based on system size and the installation complexity, residential solar panel installations generally take 1-3 days.
Step By Step Solar Panel Installation Process
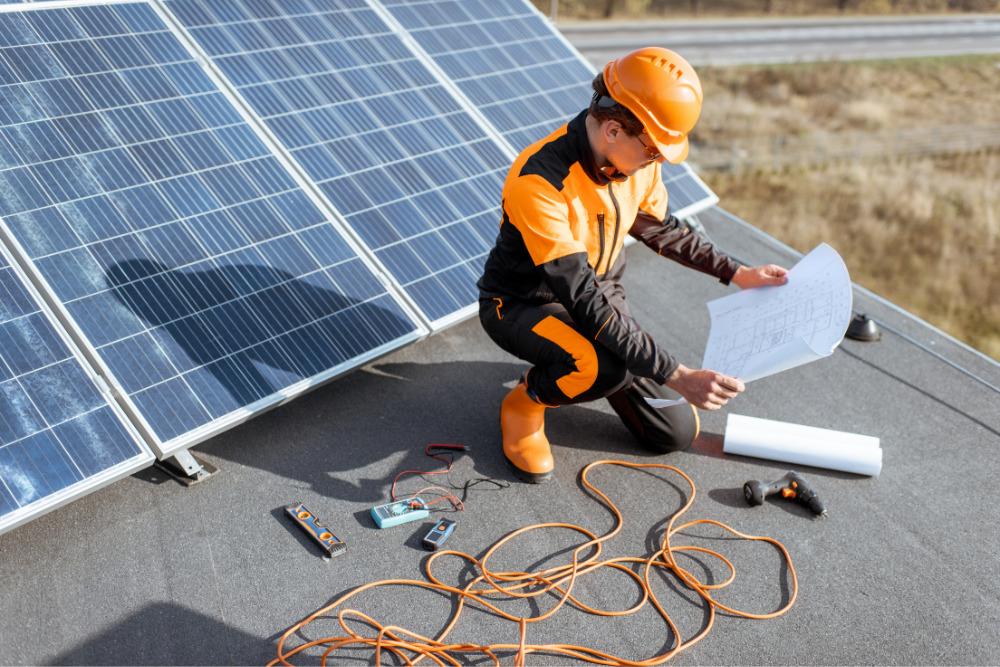
While the specifics depend on the installer and project requirements, here is a step-by-step guide to the solar panel installation process:
- Site Assessment: A solar installer visits the site to conduct the feasibility of installing a solar panel system. For rooftop solar, factors such as roof orientation, shading, structural integrity, and available space are evaluated to determine the feasibility and optimal placement of the panels. The installer may recommend a ground-mounted system if your roof isn’t ideal.
- Design and Permitting: A custom solar system design is created based on the site assessment. The installer will give you different types of solar panels to choose from based on your budget, energy needs, and preference. If required by your HOA or just as a personal aesthetics preference, your installer may recommend custom-printed SolarSkin overlays to match the panels to your shingles. The final design will include the number and arrangement of panels, solar inverter placement, and electrical wiring. The plan is then submitted for necessary permits and approvals from local authorities.
- Financing: Solar panel installation costs average $3-$5 per watt for residential and $2-$4 for commercial systems. For an average-sized house with average energy needs, a 6 kW system is usually sufficient and would cost between $18,000 and $30,000. That’s a hefty home improvement that most homeowners need to find creative financing for. Your installer will talk to you about solar loans and solar leases, as well as tax credits like the federal investment tax credit and other local incentives that reward clean energy initiatives by lowering your upfront costs.
- Roof Preparation: Before installation, the roof is prepared by ensuring it is clean and free from any debris or obstructions. If needed, repairs or reinforcements are made to ensure the roof can support the weight of the solar power panels.
- Mounting System Installation: Metal brackets or rails are securely attached to the roof, acting as the foundation for the solar panels. The mounting system is aligned and anchored, ensuring stability and durability.
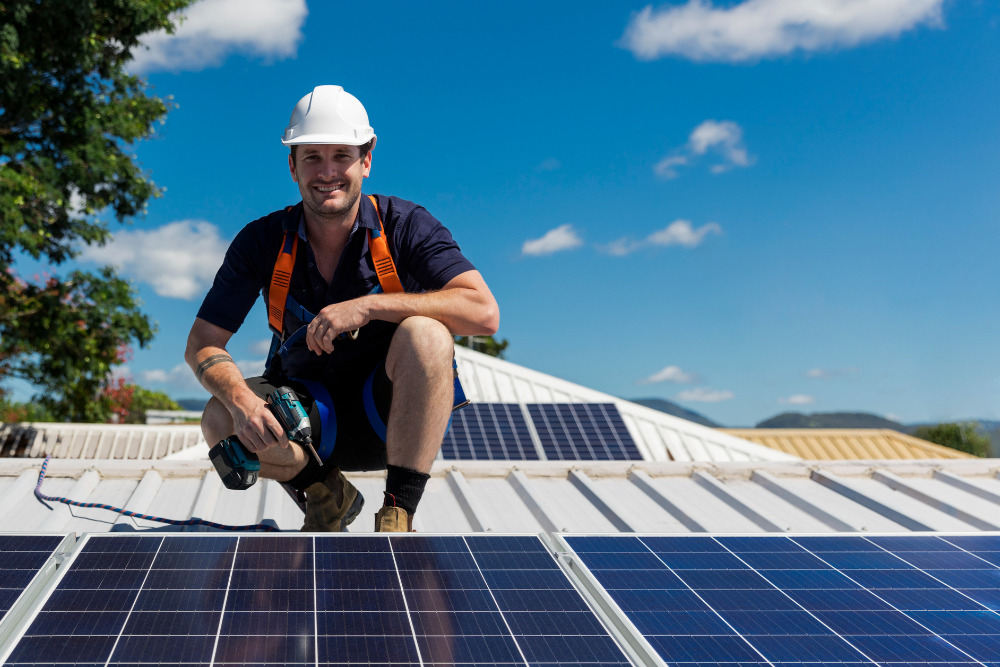
- Panel Installation: Solar panels are carefully positioned and attached to the mounting system using specialized clamps or brackets. Wiring and conduit are installed to connect the panels to the inverter and electrical system.
- Inverter and Electrical Connections: The inverter, which converts solar energy into usable electricity, is installed indoors or outdoors, depending on the design. Wiring connections are made between the solar battery (if you opted for battery storage for excess energy), panels, inverter, and the main electrical panel of the building.
- System Testing and Commissioning: Once the installation is complete, the solar system undergoes thorough testing to ensure proper functioning. This includes checking electrical connections, panel performance, and system functionality. The system will also need to be inspected by local authorities before it goes live.
- Utility Interconnection and Net Metering: If applicable, the installers will connect the solar system to the utility grid through a process known as interconnection. Net metering may be set up, allowing any excess electricity generated to return to the grid for credit on your utility bills.
- Final Walk-through and Completion: The solar provider will give the homeowner instructions for operating the system, documentation, warranty information, and system maintenance.
Do You Need To Do Anything To Prepare For Solar Installation?
Yes, there are a few things you can do to prepare for the solar installation process to ensure a smooth experience. While it’s always important to conduct your own research, a reputable solar installation company will walk you through the process step-by-step and address any questions or concerns you have.
Some things you can do to prepare include:
- Research and Consultation: Educate yourself about solar energy and the best solar panels for your budget and energy needs. Conduct research on local incentives, regulations, and solar companies in your area.
- Energy Audit: You should have an energy audit of your home to identify areas where you can improve energy efficiency. This optimizes your energy usage and potentially reduces the size and cost of the solar system needed.
- Financial Planning: Evaluate your budget and explore financing options for solar installation. Determine whether you want to purchase the system outright, lease it, or opt for a power purchase agreement (PPA) arrangement. Also, look into available incentives, solar investment tax credits (ITCs), and rebates to offset the upfront costs. You can find all available incentives in your area by entering your zip code on the Database of State Incentives for Renewables & Efficiency.
- Roof Inspection: Have a roofer check the condition and size of your roof to ensure it can fit and support the weight of solar panels. Schedule any necessary modifications or repairs before the installation.
- Understand Utility Interconnection: Familiarize yourself with your utility company's interconnection process and net metering policies. Learn about the requirements, paperwork, and fees involved in connecting your solar system to the electrical grid.
- Research Necessary Permits: Understand the permitting process and requirements in your jurisdiction. Check with local authorities or your solar installer to determine the necessary electrical permits, building permits, or HOA approvals.
- Clear Obstructions: Ensuring maximum sunlight exposure to the solar panels will optimize their performance, so trim any overhanging tree branches or remove any obstructions that may cast shadows on your roof.
- Communication with Installer: Maintain open contact with your chosen solar installer. Address any questions or concerns, and work together to finalize the system design, installation timeline, and any specific requirements.
Can You Install Solar Panels Yourself?
While you can technically install solar panels yourself, you should hire a professional installation engineer for several reasons:
- Expertise and Experience: Professional solar installers have the knowledge and experience to handle the complexities of solar panel installation. They are familiar with industry best practices, local building codes, and safety regulations.
- Safety Considerations: Installing solar panels involves working with electrical components and being on rooftops, which can be dangerous without proper training and equipment. Professional installers have the necessary safety protocols and equipment to minimize risks and ensure a safe installation process.
- Permitting and Compliance: Solar installations require permits and compliance with local regulations. Professional installers are well-versed in the permit application process and can navigate the paperwork and requirements on your behalf, ensuring compliance with all necessary laws.
- System Performance and Warranty: A properly installed solar system ensures optimal performance and longevity. Professional installers can accurately assess your energy needs, tell you whether you would be best with a ground-mounted or roof system, and provide warranty coverage for the equipment and work.
- Cost and Time Savings: While hiring a professional installer may come with an upfront cost, it saves time and effort and avoids potential mistakes. They can also help you navigate financial incentives and ensure you get the best return on your investment through lower energy bills.
How To Find A Reputable Solar Installation Company
Finding a reputable solar installation company ensures a high-quality and positive overall experience. A good installer will walk you through the process, keep you informed, and be knowledgeable about financial incentives and local requirements.
- Research and Gather Information: Look for solar installation companies in your area and gather information about their services, experience, customer reviews, and ratings. Pay attention to their track record, industry certifications, and any awards they have won.
- Seek Recommendations: Ask friends, family, neighbors, or colleagues who have already installed solar panels for their recommendations. Their first-hand experiences provide valuable insights into their reliability, professionalism, and quality.
- Check Credentials and Certifications: Ensure the solar installation company you consider is licensed, insured, and certified. Look for certifications such as the North American Board of Certified Energy Practitioners (NABCEP) or other industry-specific accreditations.
- Request Multiple Quotes: Reach out to multiple solar installation companies to request quotes and proposals for your project. Be wary of unusually low-priced quotes indicating subpar quality or hidden costs. Always make sure you’re comparing apples to apples, too. Monocrystalline solar panels are more efficient, and more expensive, than polycrystalline. Prices vary from brand to brand, as well. Be clear in your requests for a quote and read each line item carefully.
- Ask for References: Request references from the solar installation companies you are considering. Reach out to past customers and inquire about their experience, the installation process, system performance, and overall satisfaction with the company.
- Evaluate Customer Service: Pay attention to the responsiveness and professionalism of the solar installation companies you interact with. Prompt and clear communication, willingness to address your questions and concerns, and a commitment to customer satisfaction are all important indicators of a reputable company.
- Review Contracts and Warranties: Carefully review the contracts, warranties, and guarantees provided by the installation companies. Ensure that they offer comprehensive warranties for equipment and work.
- Consider Local Presence: Choosing a local solar installation company can have advantages, such as better familiarity with local regulations and building codes. Local companies may also offer more personalized service and faster response times for maintenance or repairs.
- Trust your Instincts: Trust your gut feeling about a company while interacting with them. A reputable company will make you feel comfortable, informed, and confident in their abilities.
