Solar system installation time ranges from 2-6 months or longer for more complex projects. The entire process depends on various time-adding factors, such as finding the right solar provider, acquiring the necessary permits, as well as designing and installing the actual solar array.
The Solar Power Process: Start To Finish
1. Source solar installation companies
The easiest way to find the best solar provider is to vet solar companies near you online. Plug in your zip code into review websites like Yelp and read customer reviews. Alternatively, ask people in your life who have already installed the panels for referrals.
Legitimate contractors must have valid licenses and certifications. Besides roofing and electrical licenses, solar professionals with a North American Board of Certified Energy Practitioners (NABCEP) certificate are a green flag for solar companies. Although this is not required by law, it showcases the solar installer’s expertise and commitment to continuing education and training.
2. Get estimates
Once you have a couple of solar installation companies in mind, schedule a consultation with each of them to get a quote. A professional will visit your home to assess the features of your roof (available space, orientation, shading, etc.) to determine the size of the solar panel system. They will talk to you about different types of panels and differences in cost, as well as inform you about financing options and how you can save money.
For instance, you can ask about net metering and incentives. Keep in mind these are state-based and depend on your local government, unlike the Federal Tax Credit for Solar Photovoltaics, which anyone can take advantage of to reduce their federal income taxes owed by up to 30% of the cost of the solar panel system.
3. Design the array
Although solar companies may have pre-designed standardized solar array packages, each system design will likely be different based on the homeowner’s specific circumstances and needs.
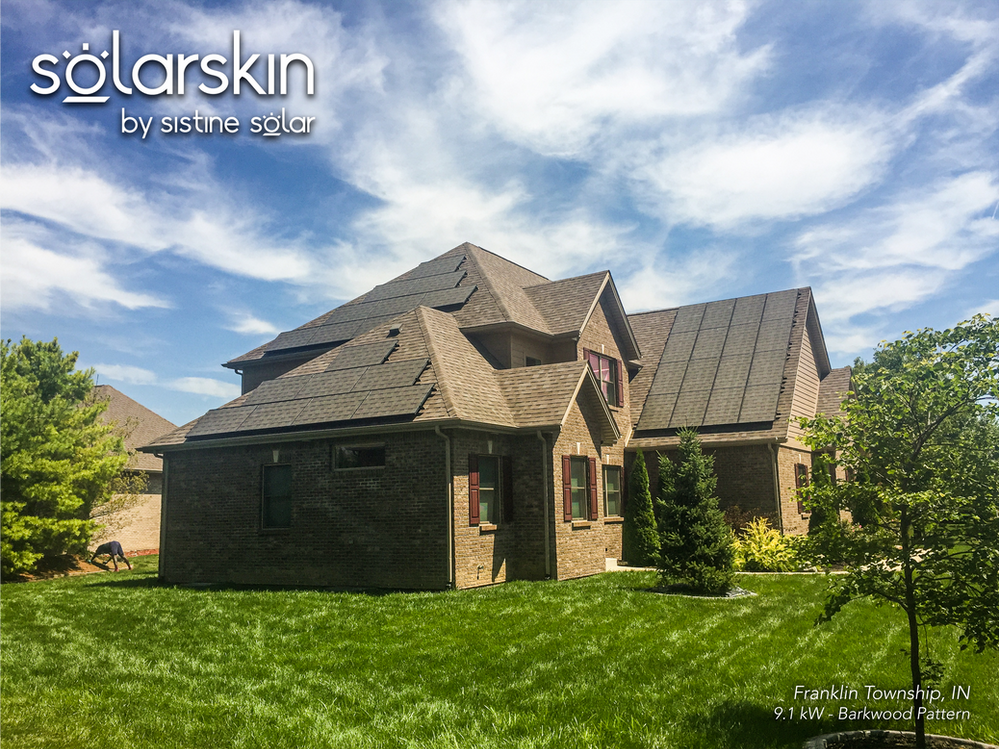
In this step, the company’s focus is on creating the most efficient solar energy system for your home. If aesthetics are important to you, your installer may also recommend SolarSkin overlays during this phase of the process. These custom-printed adhesives are designed to match your solar panels to your roof’s shingles or tiles. They’re perfect if you don’t like the look of blue or black solar panels (or if you’re fighting with your HOA to get solar approved!).
4. Choose panel type and order equipment
Depending on your energy needs, installation space, and budget, your installer will recommend one of these types of solar panels:
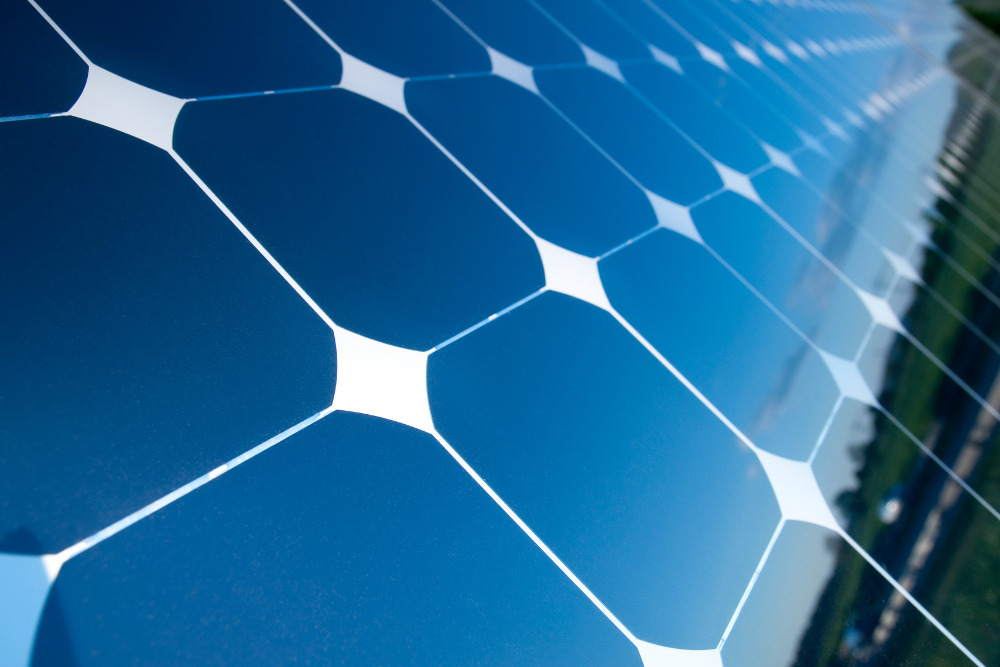
- Monocrystalline solar panels — the most efficient, but also the most expensive panel type.
- Polycrystalline solar panels — more affordable, but not as efficient, so more panels (and thus more space) are needed.
- Thin-film solar panels — can be custom made to fit odd-shaped roofs and do not require a frame for installation, making them light and easy to maneuver. However, they’re less efficient than silicon panels.
- PERC solar panels — an improvement over monocrystalline panels, Passivated Emitter and Rear Contact panels have a passivation layer that allows the back of the panel to absorb more energy, thus making the panels more efficient than monocrystalline panels.
5. Choose and order upgrades
When it comes to solar upgrades, you can add:
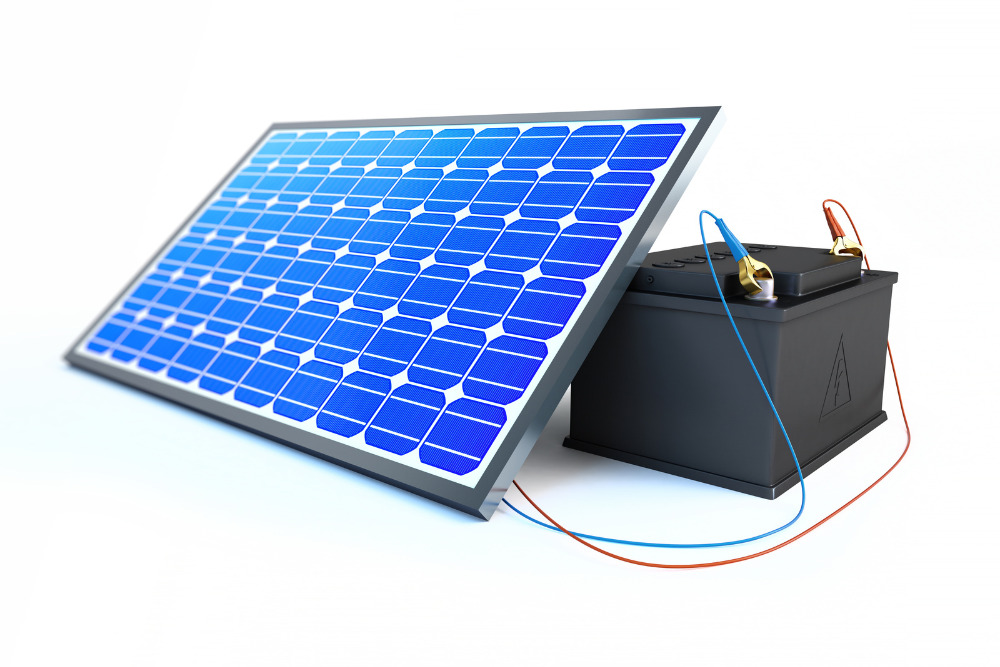
- Solar battery storage — This will allow you to store excess energy for future use, such as at night or when there’s little sun. A battery will also ensure you have power during outages and grid disruptions. Although the add-on is also available after solar panel installation, it tends to be more expensive if purchased separately.
- Solar monitoring system — Also called a solar smart meter, it helps you monitor your home energy production and consumption in real-time.
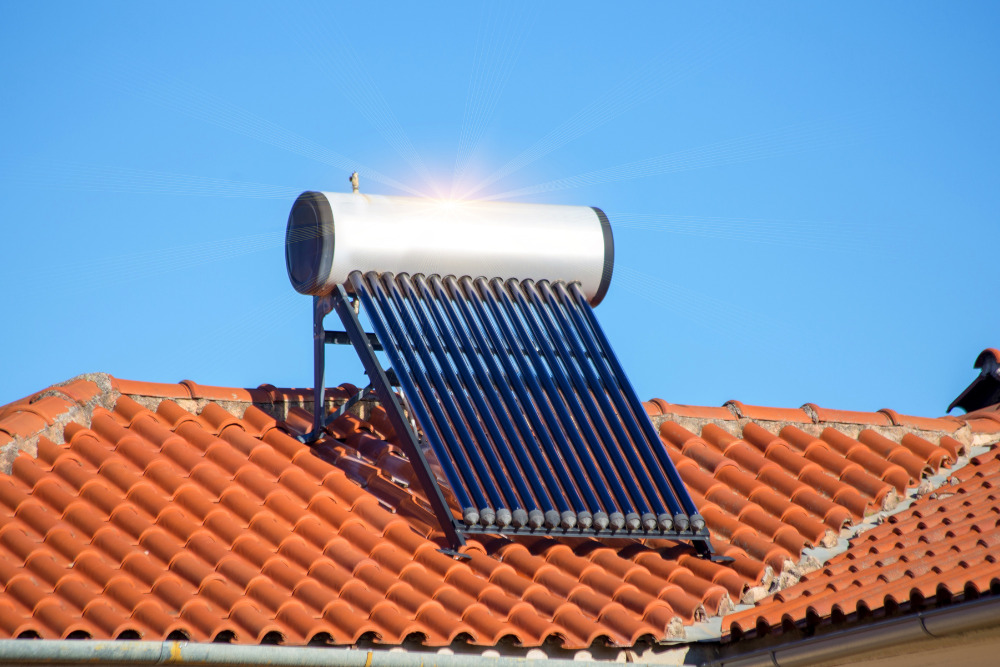
- Solar water heaters — The heaters can be mounted on top of solar panels and provide even more savings over time.
- SolarSkin — SolarSkin overlays are an excellent way to blend the panels with your roof for better curb appeal. You can customize the skins to match your roof’s shingles or tile, or go bold with a beautiful design—perfect for off-grid systems and non-HOA homes.
6. Apply for permits
Solar permitting depends on your state, town, and municipality, as well as the type and size of the solar array. It typically involves your local government, utility company, and homeowner’s association (HOA).
You may need:
- An electrical permit
- A construction permit
- A permission to operate (PTO)
- HOA approval
- A photovoltaic solar permit
- An interconnection permit
- Final approval from your local building authority or utility company
The solar company generally takes care of obtaining permits on your behalf. You can expect to pay up to $500 for residential permitting fees, and the permitting process can take anywhere from about 30-120 days.
7. Prepare roof for installation
Even though the initial site assessment was done by a solar professional, you are still responsible for identifying and repairing any existing roof damage prior to solar panel installation. A roof inspector is a professional that can help you with this step, and it is crucial because roof damage can prevent a safe and precise solar panel installation. This may add a considerable amount of time, depending on the roof issues.
You also need to remove obstacles like untrimmed high tree branches. Moreover, make sure the solar installers can access the roof easily. Communicate with the team and listen to their safety hazard removal instructions if there is anything else you need to do.
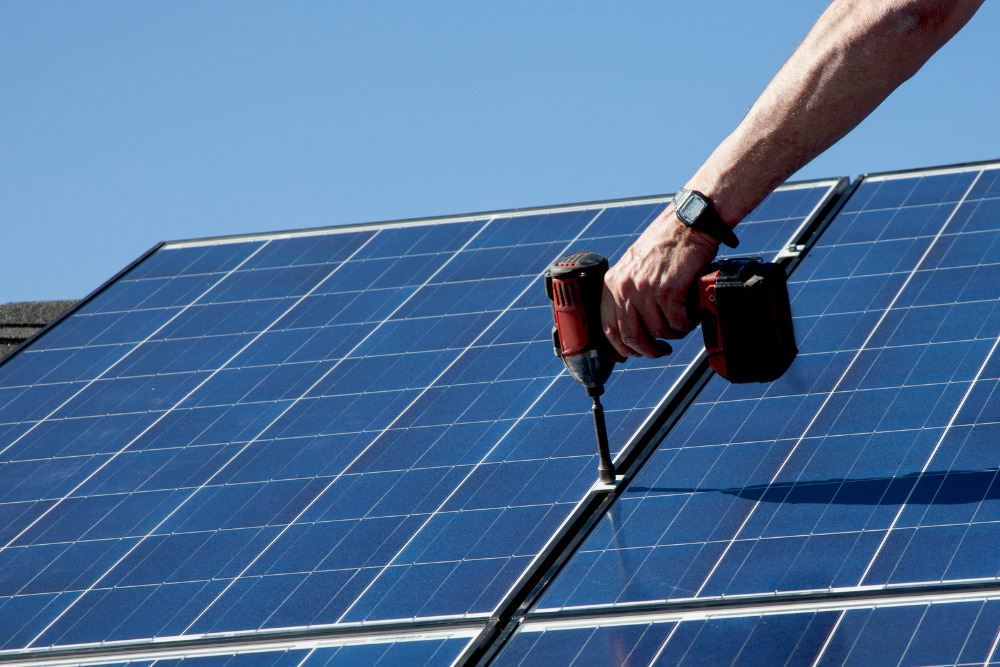
8. Get ready for installation day
The actual installation day is the quickest part of the whole process. It can generally be done within one day for most average sized homes. If your solar system is bigger, it may take up to three days.
All you need to do on the installation day is provide access to the roof and electrical panel, and ensure people, pets, and vehicles aren’t in the crew’s way. After the solar array is installed, the team tests the system.
However, before it can be connected to the electrical grid (interconnection), the utility company or relevant government representatives will do a final inspection. This process takes 1-2 weeks, after which you can go live and start to reap the benefits of renewable energy.
Factors That Impact Installation Time
Factors that can affect the solar installation timeline include:
- Installation company
- Demand
- Labor
- Supply chain issues
- Weather
- Time of year
- Local permitting and inspection
- Size of system
- Roof repair or reinforcement
A good installer knows the solar panel installation process is lengthy and can be confusing. They will walk you through the process step-by-step and explain all the variables that can affect the timing of your installation. Barring any unforeseen circumstances, they will give you an estimated and realistic timeline.